Before you continue, some of you might already know what can Lightbox do. See image below. What you see is just a regular image with no effect or blink-blink on them but try to click them. You'll see the difference now.


EXPLANATION
1. The first image, Jack Sparrow, has the lightbox effect but only showing the picture.
2. The second image, Punisher War Zone, has the lightbox effect and showing the picture with caption below the image.
3. The third image, Transformer Revenge of The Fallen, has the lightbox effect, showing picture, has caption below the picture, and the caption is hyperlink to other site (my blog).
Now you see what Lightbox can do.
Lightbox script is created by Lokesh Dhakar. You can download this script (for free) from his website: http://www.huddletogether.com.
HOW TO IMPLANT THE SCRIPT TO YOUR BLOG
Blogger system doesn't have the ability to upload script to their server. This is the main problem for blogger user. But, this is not a problem nowadays since there are many free hosting service available now.
you can sign-up for the free hosting service and you'll get free web server with your own storage. Some offer 1.5 Gb of storage for free. Below is my suggestion:
1. http://www.000webhost.com
it has faster connection and you can easily manage your FTP server.
I assume that you has downloaded the script by now and has your own server. if not, you can sign-up for free from the link above.
If you downloaded the latest script (v2.04), there is 3 folder and 1 html file name index. see image below:

Go to the images folder and copy close.gif, closelabel.gif, loading.gif, nextlabel.gif, and prevlabel.gif to other folder. Lets sat, Lightbox2 in Desktop.
Go to css folder and copy Lightbox.css. Paste it to Lightbox2, the folder where we paste the image.
Next, go to js folder, and copy all of the content inside and paste to Lightbox2 also.
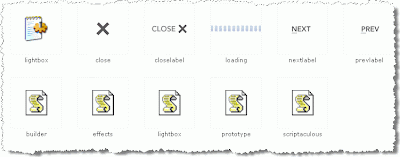
Assume that your free server is this: http://mysite.site.com
Before you upload those files, we are going to edit it a little more.
You can do this with other tools also but i use CuteFTP to do it. You can use Dreamweaver or Notepadd++. I will show you how to edit it using Notepad++.
I assume that you have download Notepad++ now. Fire up Notepad++ and drag Lightbox.css to it's workspace. you'll get something like this:
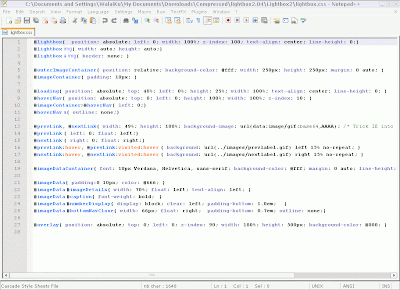
We are going to edit some of code as follow. replace the highlighted code with your site name.
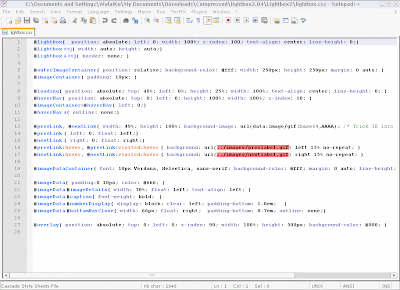
After edit:
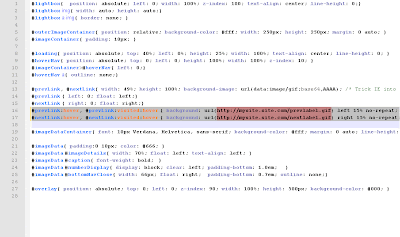
You are done editing Lightbox.css
Now, we are going to edit Lightbox.js
Same as before, drag Lightbox.js to Notepadd++ work are and replace the these code with the same code you add in lightbox.css.
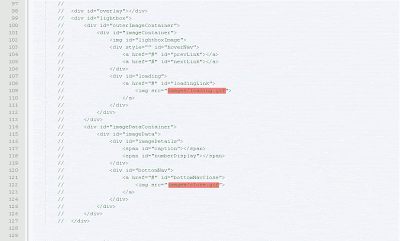
Change this too
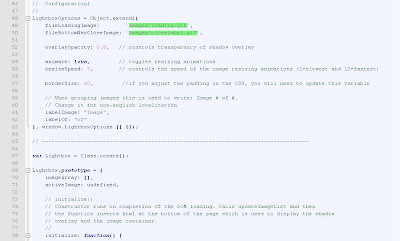
Now, upload those files to you server using you FTP program such as CuteFTP (NOT FREE).
This is how you add the code to your template.
1. go to Edit Html
2. add this code at above the Header.
<script type="text/javascript" src="http://mysite.site.com/prototype.js"></script>


<script type="text/javascript" src="http://mysite.site.com/scriptaculous.js?load=effects,builder"></script>


<script type="text/javascript" src="http://mysite.site.com/lightbox.js"></script>


<link rel="stylesheet" href="http://mysite.site.com/lightbox.css" type="text/css" media="screen" />
Everytime you wan to use the effect with your picture, add this code to your image (Edit Html)
<a href="images/image-1.jpg" rel="lightbox" title="my caption">image #1</a>
If you want to make a group for your picture so that there is Next and Previous in that picture, add this code:
<a href="images/image-1.jpg" rel="lightbox[roadtrip]">image #1</a>


<a href="images/image-2.jpg" rel="lightbox[roadtrip]">image #2</a>


<a href="images/image-3.jpg" rel="lightbox[roadtrip]">image #3</a>
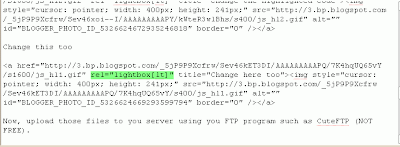
Delete these Highlighted code:
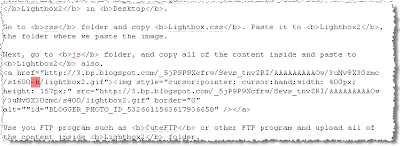
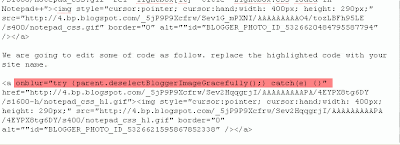
If you don't want to to waste your time doing all this stuff, you can always use my code. Just copy these code and paste it into your template. How to use it? follow the step above by adding REL attribute to your image
<script type="text/javascript" src="http://geolink.site40.net/prototype.js"></script>

<script type="text/javascript" src="http://geolink.site40.net/scriptaculous.js?load=effects,builder"></script>

<script type="text/javascript" src="http://geolink.site40.net/lightbox.js"></script>

<link rel="stylesheet" href="http://geolink.site40.net/lightbox.css" type="text/css" media="screen" />
have fun.
If you don't understand, just leave a comment and i will surely answer it.
Hi, great post... I'm trying to add lightbox to my Tumblr... I got the lighbox effect working but the link just says "image #1" How do I attach it to the thumbnail image on my page? The "image #1" link opens the lightbox effect bu the image image #1 link is separate from the image thumbnail in my post.
ReplyDeleteThanks
you should add the title="your caption" in you tag.
ReplyDeleteso the tag would be like this:
<a href="images/image-1.jpg" rev="lightbox" title="Your caption"><img src="images/image-1.jpg"/></a>